How To Make A Book Interactive & Adaptive for AAC
How To Make An Adaptive Book: Going On A Bear Hunt
For our Camping Thematic Unit, our book of the month is: Going On A Bear Hunt. We work with children on many different levels, as some children use Augmentative & Alternative Communication (AAC) devices, while others are working on higher language concepts. Some children have difficulty focusing and attending to a book. Adapting a book to be successful across all levels can be challenging, but it can allow you to expand receptive and expressive language gradually across your thematic unit while slowly fading the adaptations.
Here is how we adapted Going On A Bear Hunt for our Camping Thematic Unit!
Step 1: Gather Your Materials
You will need the following: A paperback version of your book, glue stick, laminator, Laminating Pouches, scissors, 3-hole punch, Ring Clips, Velcro Dots, color printer, AAC picture software (i.e. Symbolstix, Boardmaker, Lessonpix), cardstock, GoTalk AAC Device (9, 20)
Step 2: Create Picture Symbols
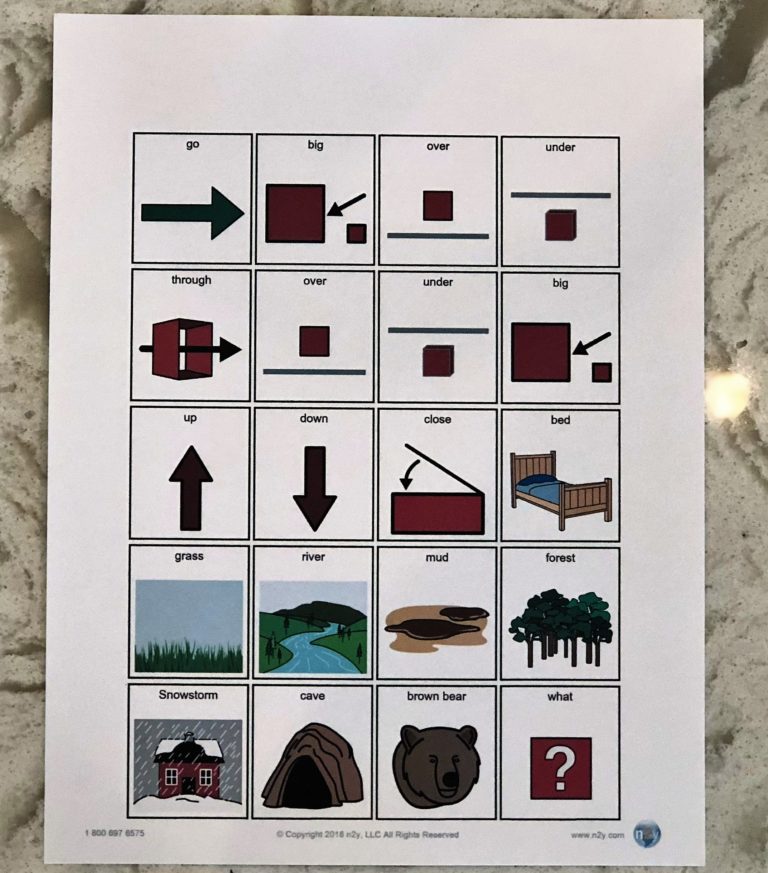
Go through the book and choose target vocabulary and core words. We used Symbolstix to make the picture targets for this adaptive book. Symbolstix allows you to format your board to fit the AAC Voice Output Device. We created a picture board for the GoTalk 20+ AAC Voice Output Device using target words (see picture below). After you’ve created your board, print 3 copies on cardstock. Cut two of the pages of symbols out, while keeping one for your GoTalk 20+ AAC Device.
Step 3: Take apart the book
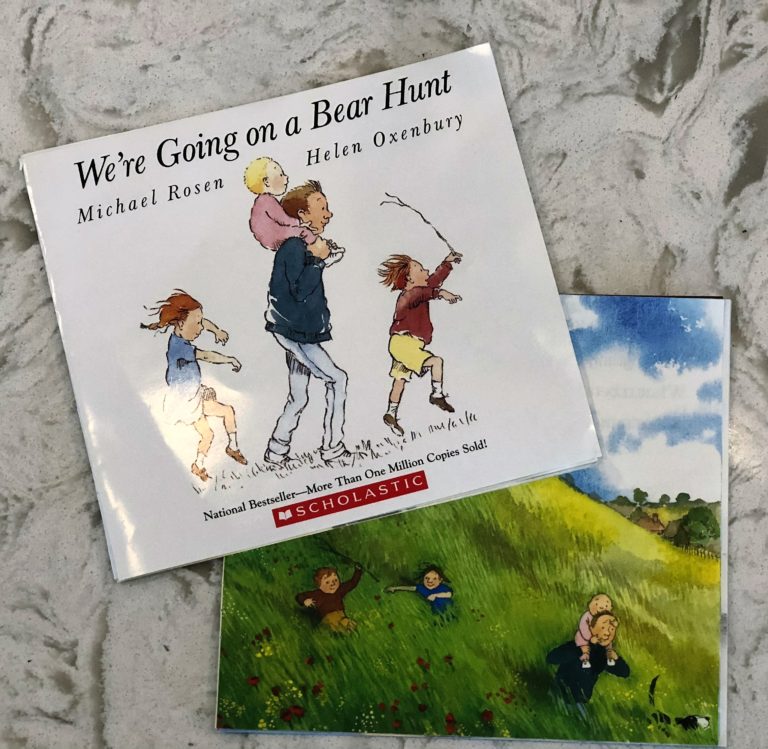
You’re going to want a paperback book because they are easier to separate, cut, or tear apart. Using scissors will help keep the lines clean. Take the book apart and stack it in order.
Step 4: Put in the symbols
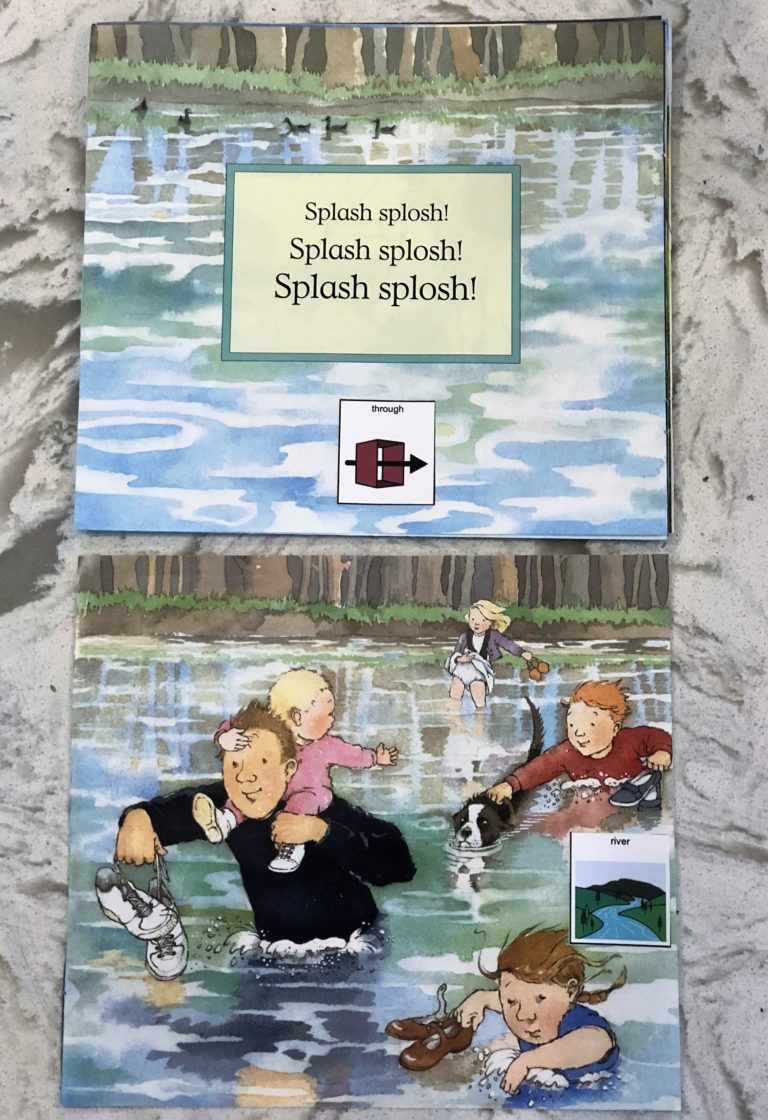
Glue the 20 picture symbols you selected onto the corresponding page in the book. For example, glue the ‘grass’ picture on the page where they are walking through the grass, and glue the picture of the bear onto the page with the bear in the book.
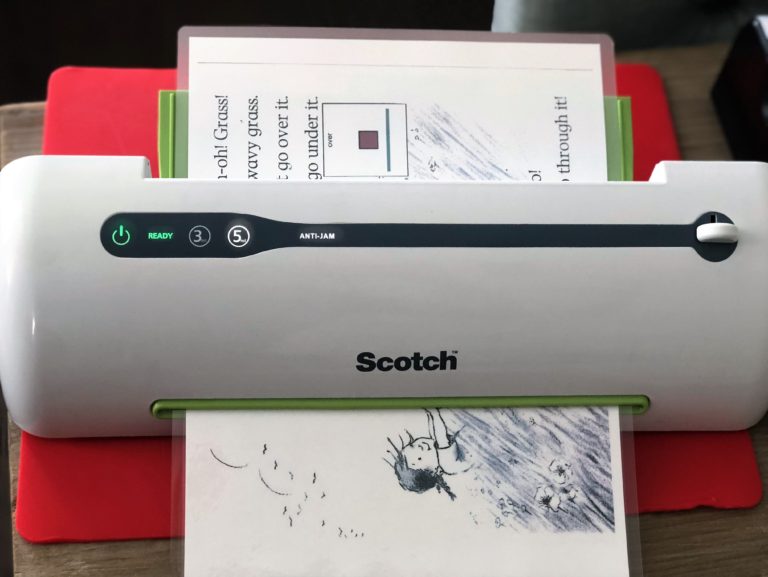
Step 5: Laminate the Book
Once all of the symbols are glued in the book, place each page in a 5 mil laminating pouch and run it through your laminating machine. This thickness will allow you to keep this adaptive book long term! While 3 mil pouches are ok, 5 mil will get the most bang for your buck! Be sure to leave a sufficient border of the laminating sheet around each edge, otherwise the page may peel apart. If there is an excessive amount of laminate remaining around the edge once laminated, trim it and be sure you keep the edges rounded.
Step 6: Velcro dots
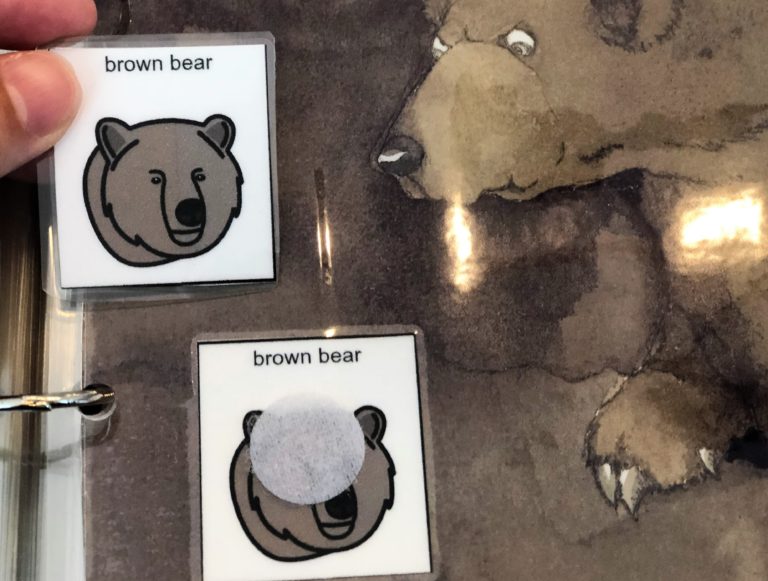
Using the soft Velcro dots (soft loop side), place a dot on each picture symbol in the book. The Velcro dots (rough hook side) can be placed on the back of the other picture symbols. Next, match the pictures together in the book. Now you have an interactive picture with many pages within the book! Adding these removable pictures increases overall attention and participation and allows you to use the pictures following reading the book for carryover.
Step 7: Put it Together!
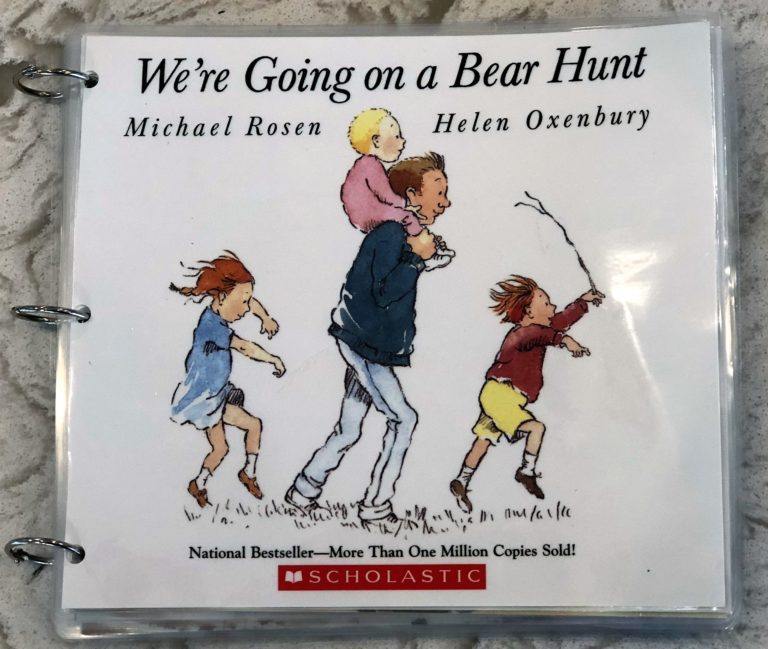
Using the 3-hole punch (you may need to adjust the width so it fits the specific book), punch holes in each page. Then bind them together using a ring clip in each hole.
Step 8: GoTalk AAC Device
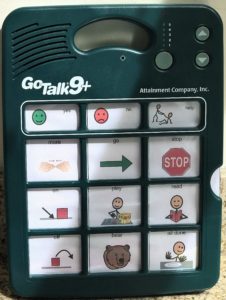
Laminate the sheet with the 20 pictures for your GoTalk 20 Device (be sure to cut it to fit the device). Do not cut these out individually. Once you’ve put the sheet into your device, follow the instructions to program each symbol with the corresponding voice output (name for the picture).
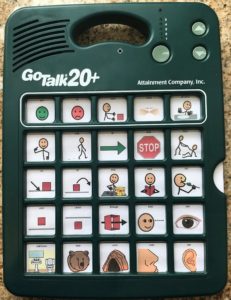
Now you have an adaptive book with a paired communication device, and the majority of your kids can participate! You have the adaptions for those that struggle to imitate, attend, and those that are non-verbal! Have fun, the possibilities are endless!
Some other functional activities you can do with the laminated picture symbols include:
- Receptive Vocabulary: Making a mock bear scavenger hunt in the hall (find the pictures and/or name them).
- Expressive Language: Have the child match the picture from the book to the GoTalk 20+ AAC Device and push the voice output button that matches and then imitate the word.
- Spatial Concepts and Following Directions: Find a named picture and put it in a named place (i.e. find the ‘grass’ and put it under the table; find the ‘bear’ and put it behind the chair).
- Sensory: Hide the pieces in a sensory bin (rice, beans, kinetic sand, etc.).
- Gross motor: Place Velcro pieces onto a large Velcro board and have the child reach for the named pictures. You can also have the child put pictures under, over, next to, etc. to work on spatial concepts.
- Bilateral Coordination & Sensory Input: Do bear crawls to find the pictures down the hall.
- Sequencing & Retelling: Make a picture sequence using the pictures to recreate the store and retell.
Written by:
Allison Kane, MCD, CCC-SLP, CAS & Stephanie Pecht, MA, CCC-SLP
Speech Language Pathologist Speech Language Pathologist
Certified Autism Specialist AAC Specialist


